When launching new websites or creating new pages, we usually assume that Google can’t wait to show them off in search results pages when people look for our products or services. Unfortunately, that’s usually not the case. With the vast amounts of new pages and content being created daily, Google can’t keep up with a new page or updated or refreshed content. If Google can’t find your pages, how can they know they exist and display them to your potential customers?
So how do Google discover new websites or pages? Either by crawling links which point to new/updated pages or by being advised that these pages exist, for example via sitemap.xml. You can easily create a sitemap.xml file with Screaming Frog. Don’t worry, there won’t be much screaming involved.
Create an XML Sitemap
Download Screaming Frog
If you don’t have Screaming Frog, you’re missing out on a gem in the SEO toolkit. It’s not crucial to your SEO efforts, but I can assure you – it will make your life so much easier. If you’ve already have Screaming Frog downloaded – go to the next step.
Open Screaming Frog
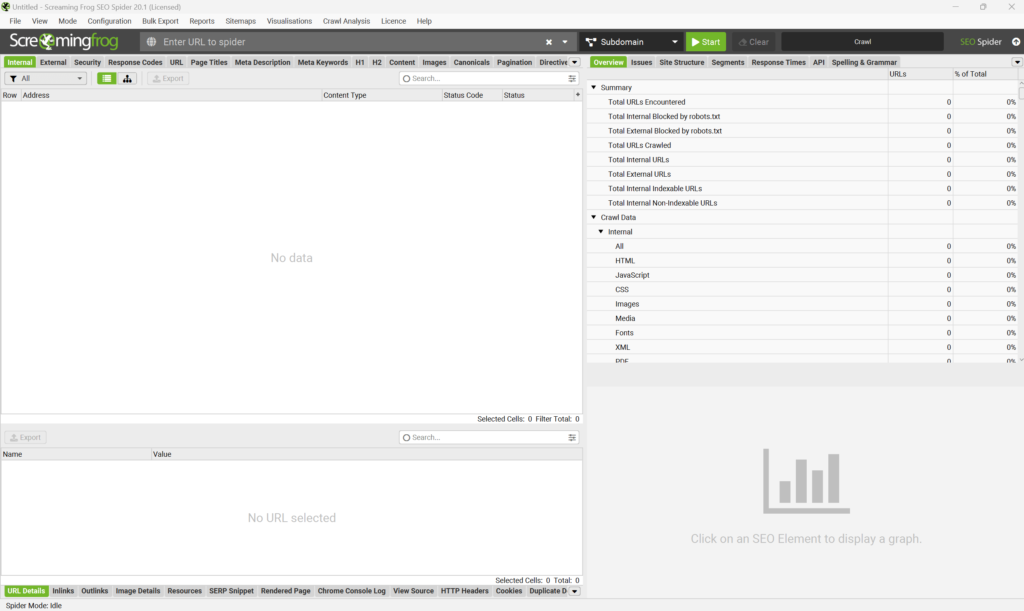
Go ahead and open Screaming Frog. If you’re anything like me, you probably have it pinned to your taskbar. I mean, who doesn’t, right? You should see a window like this:

Paste Your Website’s URL to Crawl it
Copy your website’s URL into ‘Enter URL to spider’.
Crawl Your Website
Now, hit that crawl button and let Screaming Frog do its magic. Watching it crawl through your site is oddly satisfying. Just me? Okay, moving on.
Navigate to Sitemaps
Once the crawl is done, head over to the ‘Sitemaps’ section in the menu.

Use Default Settings
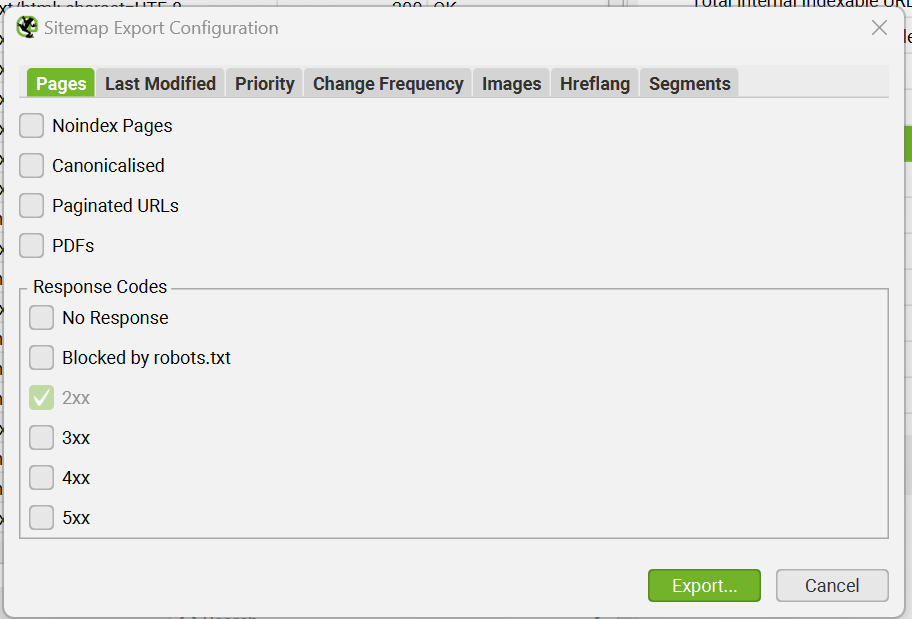
Now, please don’t be tempted to change the default settings. Trust me, the default settings in Screaming Frog are solid. They’ve got your back. So, unless you have a very specific need, just stick with the defaults. Easy-peasy.

Export the File
Next, hit that export button. And just like that you created a healthy sitemap.xml file to guide Google around your website. Now they know that your pages exist. Make sure you remember where you saved the file as you’ll need it in a second.
Upload the File to Your CMS
Take your sitemap.xml file and upload it to your CMS. This part is usually pretty straightforward, but if you’re unsure, a quick Google search or a peek at your CMS’s help section should do the trick.
Submit Your Sitemap to Google Search Console/Bing
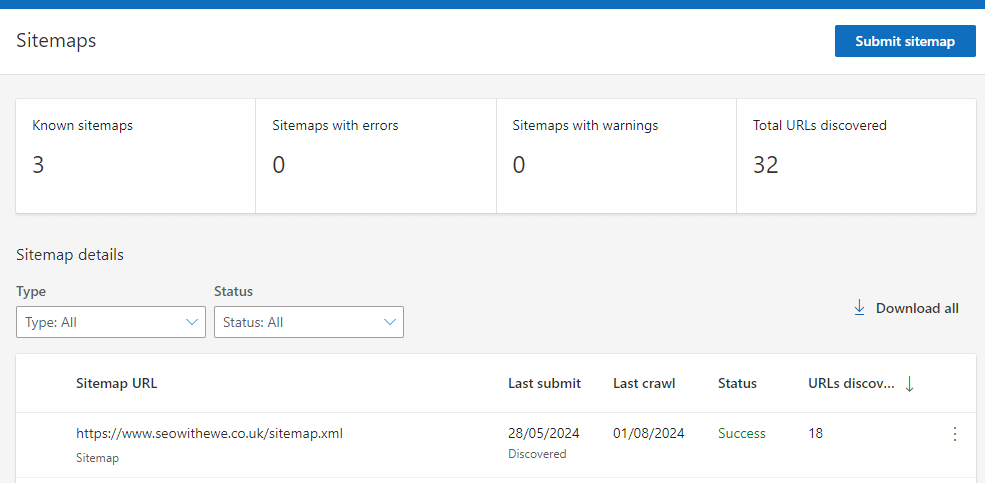
Last but definitely not least, head over to Google Search Console and Bing Webmaster Tools to submit your sitemap.


You just made sure that Google can find, crawl, render (if necessary), index and finally display your pages in search results. More visibility means more potential customers finding their way to your awesome content, products, or services.
Have you run into any issues? Please drop me a message and I’ll investigate.

